













Avoid These Equipment Room Design Mistakes: Access, Drainage, Ventilation, Noise
Fish Tanks Direct on Jul 15th 2026
Design Your Equipment Room for Easy Care and Peace of Mind
A big, beautiful display tank should be calm and relaxing, not backed by a noisy, hot, cramped room that feels like a stress factory. The truth is, the aquarium equipment room is the heart of any serious system. When it is planned well, your water stays stable, your fish stay happy, and you sleep better at night.
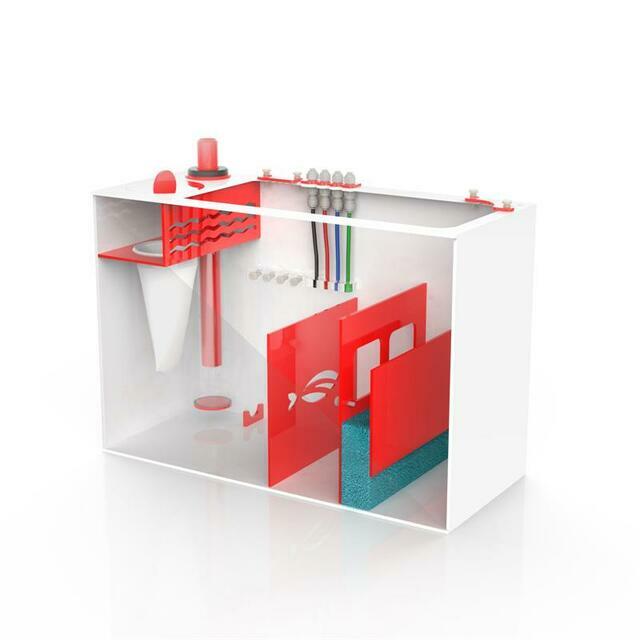
aquarium equipment room is the space that holds the sump, pumps, skimmer, reactors, RO/DI unit, mixing barrels, power centers, and more. It might be a closet in a home, a back room in an office, or a behind-the-scenes area in a lobby or public space. If the display is the show, this room is the engine.
The biggest trouble spots we see are the same again and again: poor service access, weak drainage, bad ventilation, and loud noise. When those four areas are planned carefully, you get easier maintenance, fewer emergencies, lower long-term costs, and a quieter viewing area. At Fish Tanks Direct, we think about the system as a whole, from custom acrylic aquariums to the equipment layout that supports them.
Fun fact: in many public aquariums, the life support areas behind the exhibits can actually be larger than the galleries visitors walk through.
Plan Service Access Before You Place a Single Pump
If you cannot reach it, you cannot maintain it. That simple idea decides how long your aquarium equipment will last and how stable your water will be. Pumps need to be swapped, skimmers need to be scrubbed, filter socks need to be changed, and plumbing needs to be checked, over and over, for years.
Common service access mistakes include:
- Pushing sumps, pumps, and manifolds tight against walls or into corners
- Forgetting space above skimmers and reactors to remove cups and media
- Tucking heavy chillers or large acrylic sumps where they cannot be removed without cutting plumbing
A better plan is to give yourself working room from the start. Aim for:
- A clear path at least 30 to 36 inches wide in front of major components
- Overhead space so you can lift skimmer cups and pull media reactors straight up
- Manifolds, controllers, and power strips mounted near eye level with labels on lines and cords
- All high-service items, like filter socks and test kits, kept at a comfortable reach
Fun fact: a big reef system can move its entire water volume through the filtration many times each hour, far more turnover than most home plumbing ever sees.
Smart Drainage to Handle Spills, Backwash, and Emergencies
Water on the floor is not a maybe; it is a guarantee over the life of a large tank. A hose will slip, a fitting will drip, a skimmer will overflow, or a backwash will splash. If your room cannot handle that water, it can spread into hallways, damage walls, or reach electrical gear.
Drainage mistakes we see a lot:
- No floor drain at all, or one that sits higher than the lowest part of the floor
- Flat floors that let water wander under walls into other rooms
- No dedicated drains for skimmer waste, RO/DI waste, mixing barrels, or automatic water changes
Good drainage is part planning, part protection:
- Slight floor slope toward a properly trapped floor drain
- Water-resistant coatings or epoxy on the floor to keep moisture out of the structure
- Small curbs or lips around sumps and mixing stations to keep small leaks from spreading
- Hard-plumbed drain lines from skimmer cups, sinks, and auto-change systems so you are not hauling heavy buckets
In summer storms, power can flicker and return suddenly. An unexpected restart can send water surging through drains or over a sump. When the room is ready to catch and send that water away, a scary moment turns into a small cleanup instead of a disaster.
Fun fact: a leak of only a few gallons per hour can leave a surprising amount of water on the floor over a weekend if there is nowhere for it to safely go.
Ventilation, Humidity Control, and Noise Management
Warm, moving water gives off a lot of moisture. In a sealed or tight equipment room, that humidity can lead to mold, rusty metal, swollen doors, and peeling paint. Add pump and light heat, and the room can feel like a sauna, which is hard on both you and your livestock.
Common air and heat mistakes include:
- Trusting a small bathroom fan to handle a large, open-top system
- Forgetting that exhaust air needs makeup air, which can pull humid or smelly air into other rooms
- Ignoring heat from pumps, lighting power supplies, and chillers until the room is already hot and sticky
Better air management usually means a mix of:
- An exhaust fan sized for the room volume and expected evaporation, ideally on a humidistat
- A mini-split or dedicated HVAC vents to manage both temperature and humidity
- Vapor barriers and mold-resistant materials on walls and ceilings
- Keeping electrical panels away from areas with heavy salt spray or condensation
Fun fact: a large open-top reef can lose several gallons of water per day in summer through evaporation alone, which all ends up as moisture in the surrounding air.
At the same time, we want the equipment room to be as quiet as possible so the display area stays peaceful. Noise problems often come from:
- Pumps or chillers bolted directly to walls or floors, sending vibration through the structure
- Overflows with long drops, sharp turns, or poor tuning that gurgle and flush
- Thin, uninsulated walls or hollow doors between the equipment room and the viewing area
Simple noise-control ideas include:
- Rubber isolation pads under pumps and chillers and short runs of flexible PVC to break vibration
- Overflow designs like Herbie or BeanAnimal styles, with drains sized and tuned to run quietly
- Sound-absorbing materials on walls and ceilings and solid-core doors, while still leaving enough airflow for cooling
Fun fact: a quiet equipment room often measures closer to a soft refrigerator hum, while a loud one can feel more like standing next to a vacuum cleaner.
Build a Pro-Level Equipment Room From Day One
When we pull all of this together, a pattern shows up. Good access, smart drainage, proper ventilation, and low noise turn your equipment room from a risk into a stable base for the whole aquarium. It becomes a place where you can work comfortably, spot small problems early, and keep systems running smoothly for years.
Before installing anything, it helps to sketch the room, draw the tanks and sumps to scale, and mark service aisles, drains, fans, and doors. List every device you plan to use, including:
- Display tank and any frag or quarantine tanks
- Sumps and refugiums
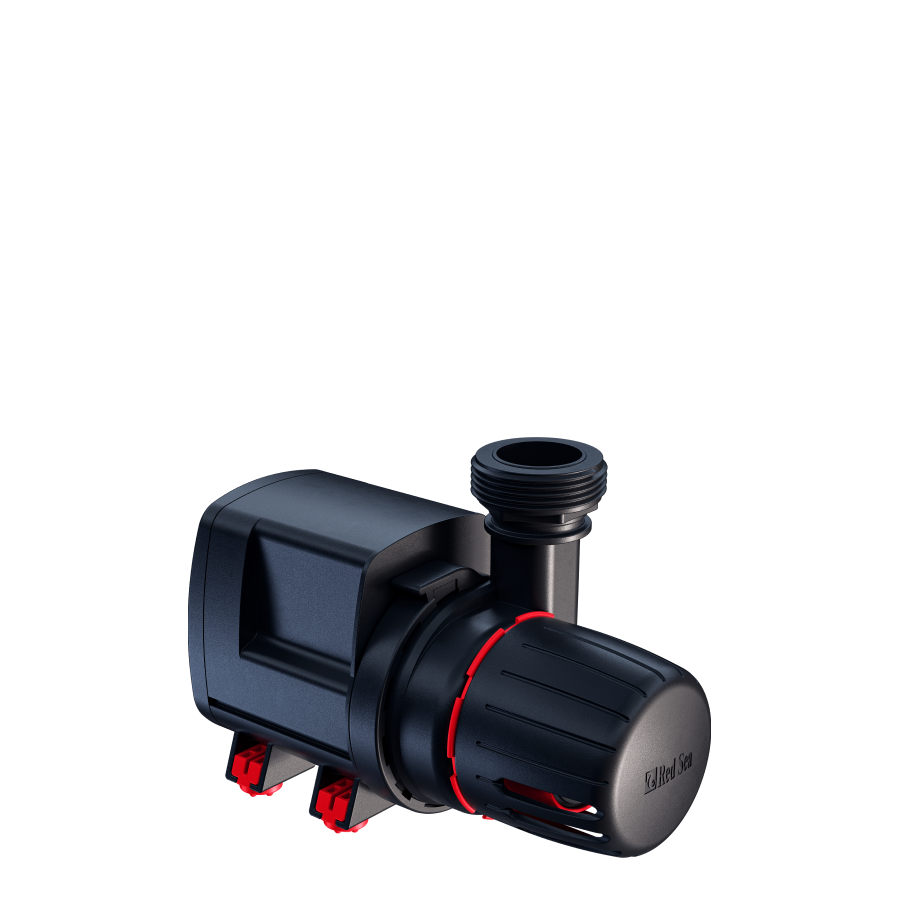
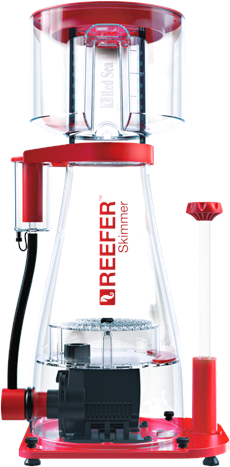
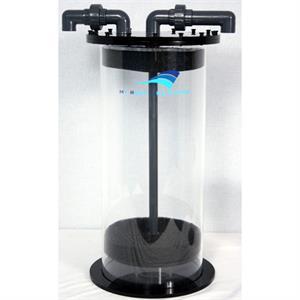
- Return pumps, skimmers, and reactors
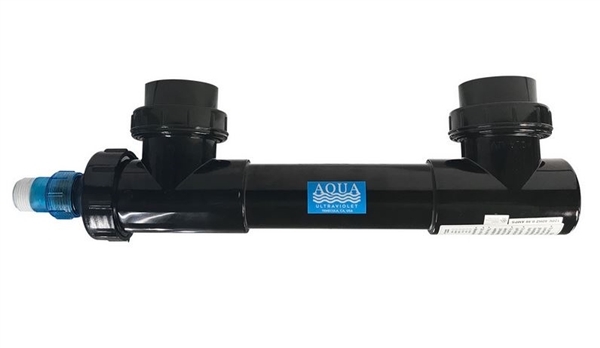
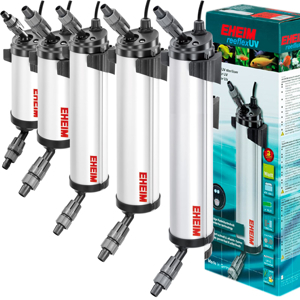
- UV units, dosing pumps, and controllers
- RO/DI system and mixing or storage barrels
Then adjust the plan until you can stand in front of each major item, lift what you need to lift, and send any stray water to a safe drain path. As heat and storms push systems harder in midsummer, any weakness in drainage, ventilation, or noise control tends to show up, so this is a smart season to tighten up your setup.
Fun fact: with a well-planned equipment room and steady care, large closed aquariums have been known to run continuously for many years without a full tear-down, which is the real reward for getting the room right the first time.
Frequently Asked Questions About Aquarium Equipment Rooms
How Big Should My Aquarium Equipment Room Be for a Large Tank?
Plan at least the footprint of your display tank plus a 30- to 36-inch service aisle in front of major components, with extra room for sumps, mixing stations, and storage. Larger or more complex reef setups often work best with an 8-by-10-foot or bigger dedicated space.
Do I Really Need a Floor Drain in My Equipment Room?
A floor drain is not strictly required, but it is strongly recommended for large systems, because it can greatly reduce damage and cleanup when spills, backwashing, or leaks happen.
How Can I Reduce Humidity From My Aquarium Equipment?
Use a correctly sized exhaust fan, consider a dehumidifier or dedicated HVAC solution, keep lids on sumps where practical, and choose efficient equipment that does not add more heat to the room than needed.
What Is the Best Way to Make My Equipment Room Quieter?
Pick quiet-running pumps and skimmers, place them on vibration-isolation pads, add short runs of flexible plumbing, tune overflow drains, and add sound-dampening features like insulated walls and solid-core doors while keeping enough airflow for cooling.
Can Fish Tanks Direct Help Me Plan My Equipment Room Layout?
Yes, Fish Tanks Direct can help match custom acrylic aquariums, sumps, and filtration equipment to your space and talk through layout details so your room supports good access, drainage, ventilation, and noise control.
Upgrade Your Aquarium With Reliable, High-Performance Gear
Ready to enhance your setup with equipment that keeps your fish healthy and your tank looking its best? At Fish Tanks Direct, we carefully select aquarium equipment that delivers dependable performance for beginners and experienced aquarists alike. Explore our selection to find the right fit for your tank size, filtration needs, and lighting goals. If you have questions or want personalized recommendations, feel free to contact us.